Anaconda安装教程
参考教程
一、Anaconda下载(官网和清华源)
1.1、Anaconda官网首页地址
Anaconda官网:https://www.anaconda.com/
进入官网后如下图所示,点击Download即可开始下载(若无法下载,请转至清华源下载)

1.2、清华源Anaconda地址
清华源:https://repo.anaconda.com/archive/

下载完成后将会得到exe文件,双击即可开始安装

二、Anaconda安装
点击Next

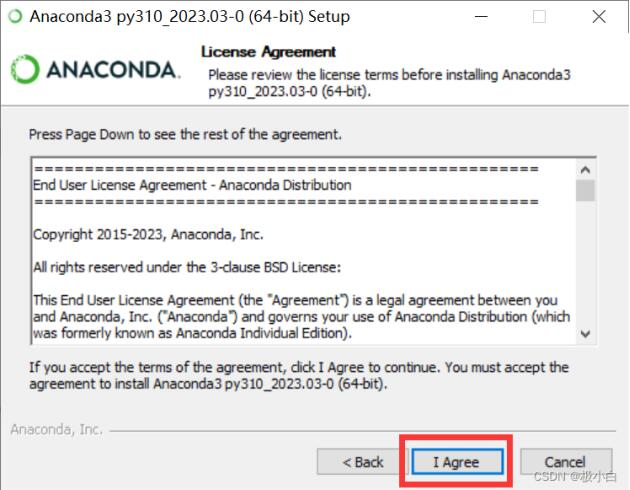
点击I Agree
在此选择Just Me(recommended)—->点击Next

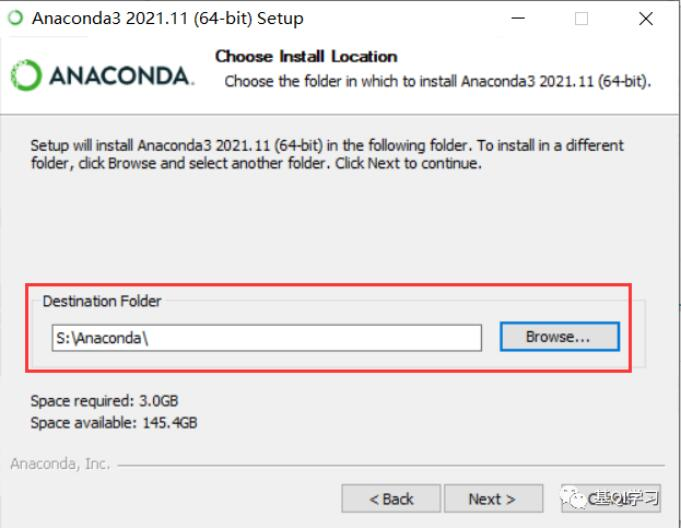
设置Anaconda的安装路径,路径名称最好为全英文,随后点击“Next”。
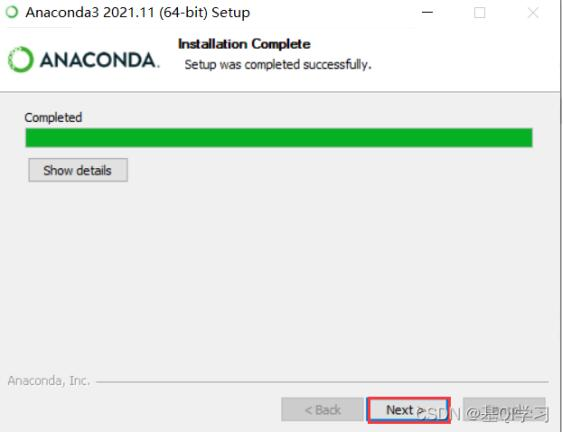
点击“Install”。这里就不选择自动将Anaconda添加到系统路径了(因为我之前安装Anaconda的时候都是手动添加路径,使用的时候没有出现过问题,所以本次安装我仍然手动配置路径,我没有试过自动添加路径,所以不知道会出什么问题,大家感兴趣可以尝试。) 这里等待稍许便可

点击Next
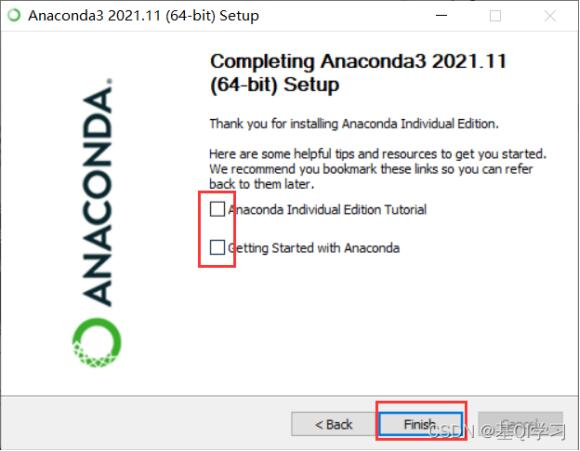
此处为pycharm的推广,如果有需要的可以点击如图所示链接,当然pycharm也可自行下载,在此笔者直接点击Next

点击Finish
三、手动配置环境变量(关键)
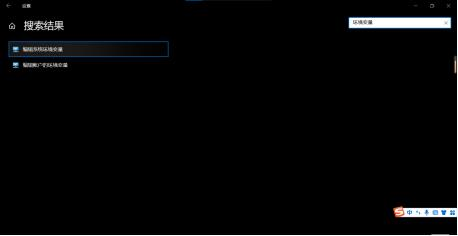
打开环境变量:打开设置,搜索环境变量,打开“编辑系统环境变量”
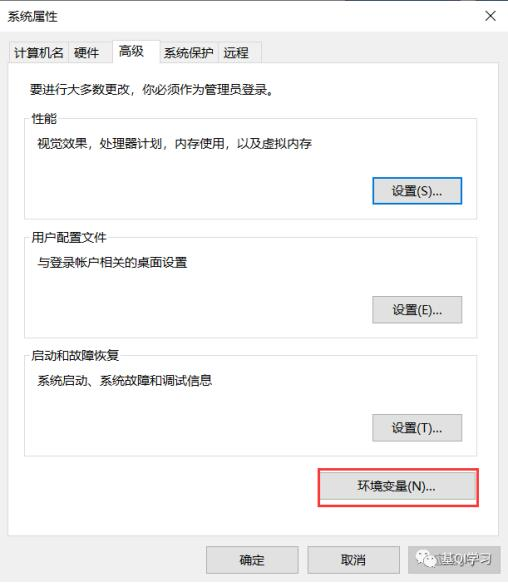
点击环境变量。
在系统变量(一定要看清,是系统变量,不是用户变量)一栏中,找到“Path”(这个Path不同电脑的书写可能不一样,所以根据自己电脑上的来,我这里是Path,但其它的电脑可能在大小写上有区别)。

双击“Path”,并点击新建。
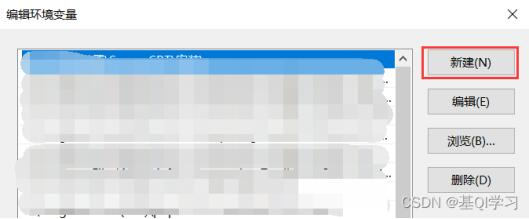
输入以下信息(Anaconda安装路径要根据自己当时安装Anaconda的路径来): Anaconda安装路径 Anaconda安装路径\Scripts Anaconda安装路径\Library\bin

(上图中的内容仅是个人安装路径的配置,大家配置的时候,只需要更改“Anaconda安装路径”,改成自己的路径),输入完三条变量后,点击确定。
四、测试Anaconda是否安装配置成功
WIN+R键调出运行窗口,输入cmd回车
输入“conda –version”。

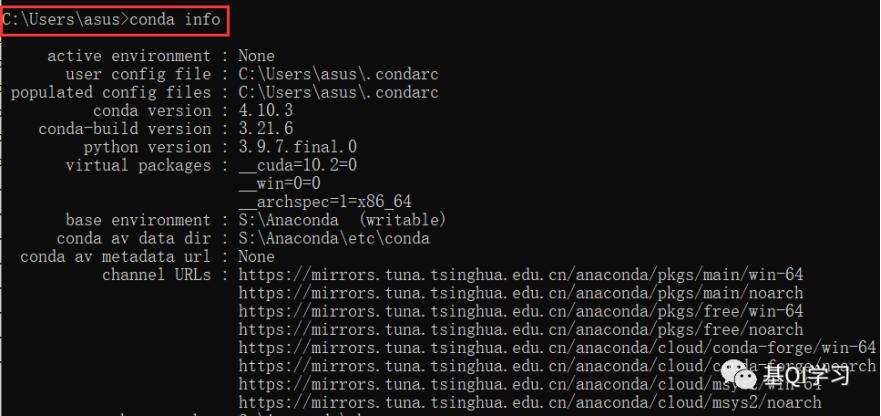
输入“conda info”。
输入“activate”,回车,之后再输入“python”。

若显示的内容均与上图相同或类似,这说明环境变量配置成功。 至此,Anaconda的安装就完成了。
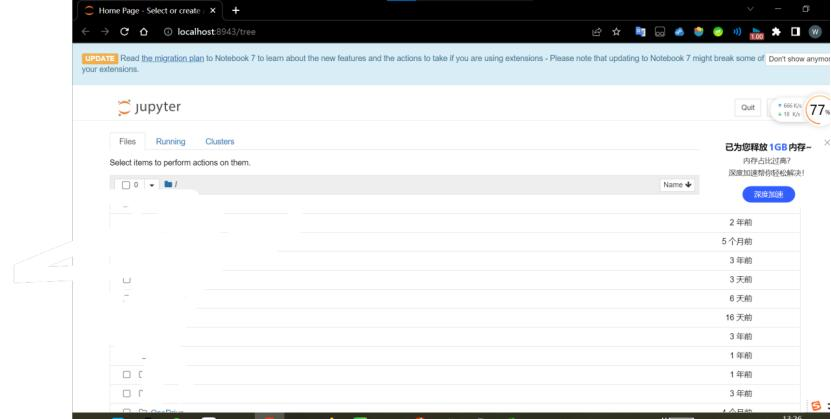
五、jupyter notebook打开失败解决方法
在系统变量的path路径里添加,C:/Windows/System32

打开命令窗口,win+R,输入cmd,回车 输入jupyter notebook –generate-config,回车

通过输出的这个路径去找到文件,右键单击,选择用记事本打开 将以下代码粘贴进记事本 import webbrowser webbrowser.register(“chrome”,None,webbrowser.GenericBrowser(u”Chrome所在路径”)) c.NotebookApp.browser = ‘chrome’ 然后将红框部分替换成自己电脑上面Chrome的所在路径
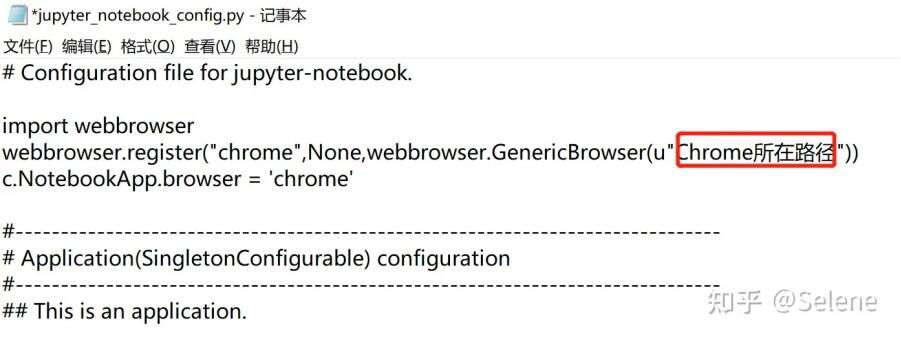
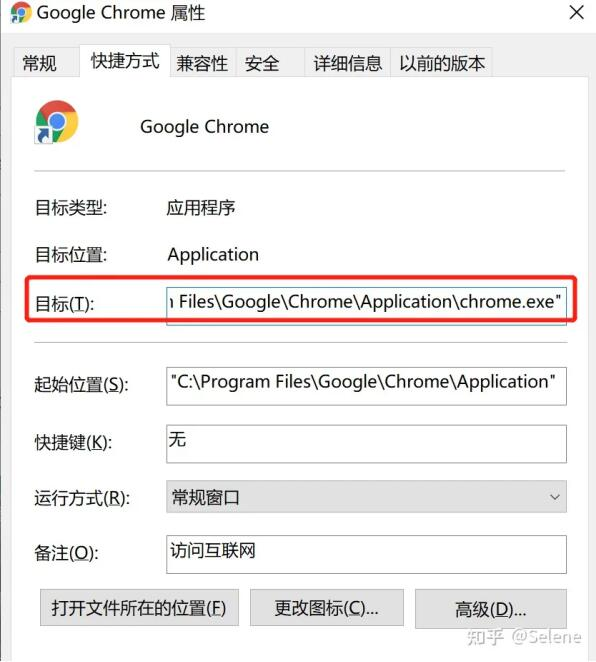
Chrome所在路径可以右击图标,点击“属性”,在目标处就是所在路径,复制以后替换到上面红框部分
重点来了!这里一定要把\都替换成\\,否则会报错

保存记事本,再启动jupyter notebook应该就自动弹出了